


Golf Alignment Sticks:
The Essential Tool for Perfecting Your Swing
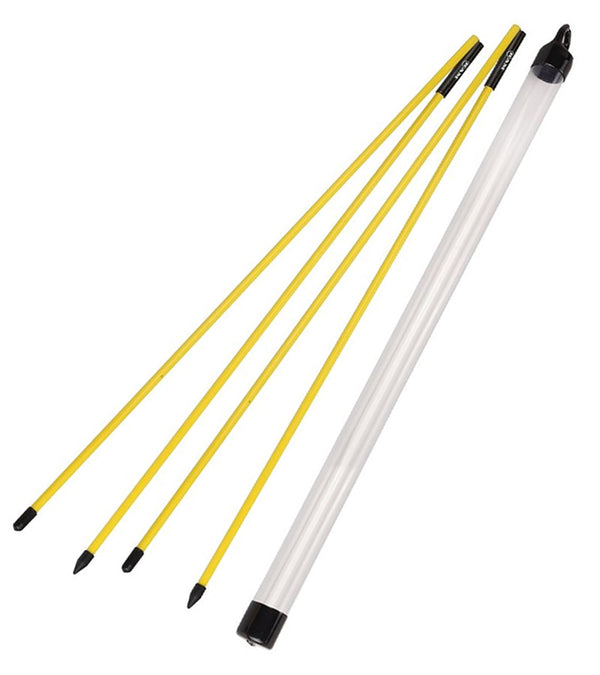
Golf alignment sticks are essential tools for golfers who are serious about improving their game. At GolfCircuit.com, we provide high-quality alignment sticks that help players of all skill levels master their alignment, refine their swing, and perfect their stance. Simple yet incredibly effective, these training aids are designed to give you the confidence and consistency needed for better performance on the course. Browse our selection to find the perfect pair to take your practice sessions to the next level.
Golf alignment sticks are the unsung heroes of the training world, providing simple solutions to complex swing problems. For players at any level, these tools help reinforce fundamental aspects of the game, making practice sessions more productive. Whether it's fine-tuning the setup, working on swing path issues, or refining putting mechanics, alignment sticks can be a game-changer.
They are among the most versatile and essential training tools for golfers looking to elevate their skills. These straightforward devices can make a significant impact on a player’s game, from beginners learning proper alignment to seasoned professionals fine-tuning their swing.
How to Use Golf Alignment Sticks
Alignment and Stance Practice: One of the most common uses for alignment sticks is to help golfers ensure they are lined up correctly to their target. By placing a stick parallel to your target line, you can set up your feet, hips, and shoulders square to the intended shot direction.
Swing Path Correction: For golfers who struggle with slicing or hooking the ball, alignment sticks can be used to visualize and correct the swing path. By setting a stick at an angle alongside your swing path, you can practice hitting the ball without making contact with the stick, reinforcing a more accurate swing motion.
Ball Position and Posture: Positioning a stick perpendicular to your stance can help determine whether the ball is correctly aligned with your lead foot. This is crucial for achieving consistent ball contact and trajectory.
Putting Practice: Golf alignment sticks can be used on the putting green to ensure your putter is moving in a straight line. Place two sticks parallel to each other, slightly wider than the width of your putter, and practice stroking the ball between them without touching the sticks.
The Benefits of Using Golf Alignment Sticks
- Improved Accuracy: Consistent practice with alignment sticks helps golfers develop muscle memory for correct alignment and posture. This translates into more accurate shots and fewer misaligned swings.
- Enhanced Swing Mechanics: By practicing with an alignment stick set to the correct swing path angle, golfers can reduce common swing issues such as over-the-top moves or coming inside too early, leading to more efficient, powerful swings.
- Versatility in Training: Golf alignment sticks are not limited to any specific type of shot. Whether you’re practicing driving, iron shots, or chipping, these tools can be adjusted to cater to any practice scenario.
- Portability and Ease of Use: Unlike bulky training aids, golf alignment sticks are lightweight and easy to carry. They can be slipped into a golf bag alongside your clubs and set up quickly, making them an excellent tool for use both on the driving range and on the course.
- Cost-Effective Improvement: Golf alignment sticks are relatively inexpensive compared to other training equipment. Despite their simplicity, they offer immense value for improving your game without breaking the bank.
Whether you’re aiming to improve your accuracy, fine-tune your swing mechanics, or establish a consistent practice routine, golf alignment sticks are a must-have in your training arsenal. At GolfCircuit.com, we offer durable, reliable alignment sticks that support your journey to becoming a more confident and skilled golfer. Start using these tools today to transform your practice and enjoy noticeable improvements in your game. Explore our collection and step up your golfing experience with GolfCircuit.com
